The Art and Science of Capturing Dynamite Views
Here is the step-by-step guide to ensuring your mountain home is designed with stunning views in mind.
Architecture is a delicate balance between art and science. When it comes to designing the plans of your dream home, it is the methodical design process that creates the breathtaking end result. And one of the most dramatic features of a mountain home is the incorporation of stunning Rocky Mountain views.
The process begins with a thorough program, first written generically from the basic types of rooms desired and then refined to include the more specific details. Room sizes and adjacencies are determined along with the desired inclusions and finishes of each space.
Next on the agenda should be an onsite meeting with topographical surveyors to determine which views to capture from certain vantage points. At this stage, it’s also important to note certain surrounding buildings as well as any site features, such as trees, rock outcroppings, and fences. When the topographical survey is received, the site will be studied for vehicular access and storage.
The primary concern relevant to formulating the initial layout will be the views. Many environmental factors also come into play. Whether it’s due to a desire for privacy or just preference, some views should be blocked. Topography determines access and vertical circulation in the three-dimensional design. Important things to consider are: winter and summer sun paths, wind protection (for outdoor living spaces), how the indoor and outdoor spaces interplay, and where to introduce water features. A site analysis is developed from this information.
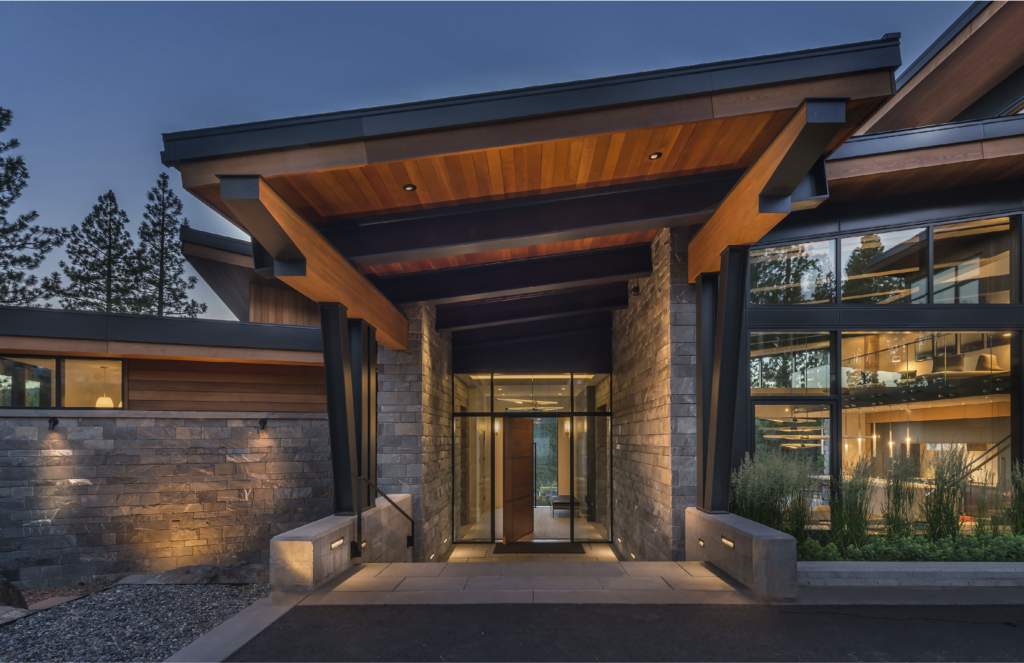
The views received from the surveyor are verified for location and distance on a topographical program and then studied to determine their true requirements. A precise computer-aided design drawing is created so that the design team can “drag” the view lines around into any room or location in the home to determine how they interact with the design. Because this is done in plan and in section, the team not only has to know where to put the windows and how wide they should, but they also need to know how high, as not to cut off the views at the top. The last thing you want is for the top of the window frame to obscure the view of the mountaintop beyond. A good rule of thumb is to keep a “foot of sky, minimum” above the top of the mountains to the top of the window. This is usually determined at the home’s front door for the initial impact of a dramatic view upon entry. If this requirement is met, then it most certainly is met from within the living spaces.

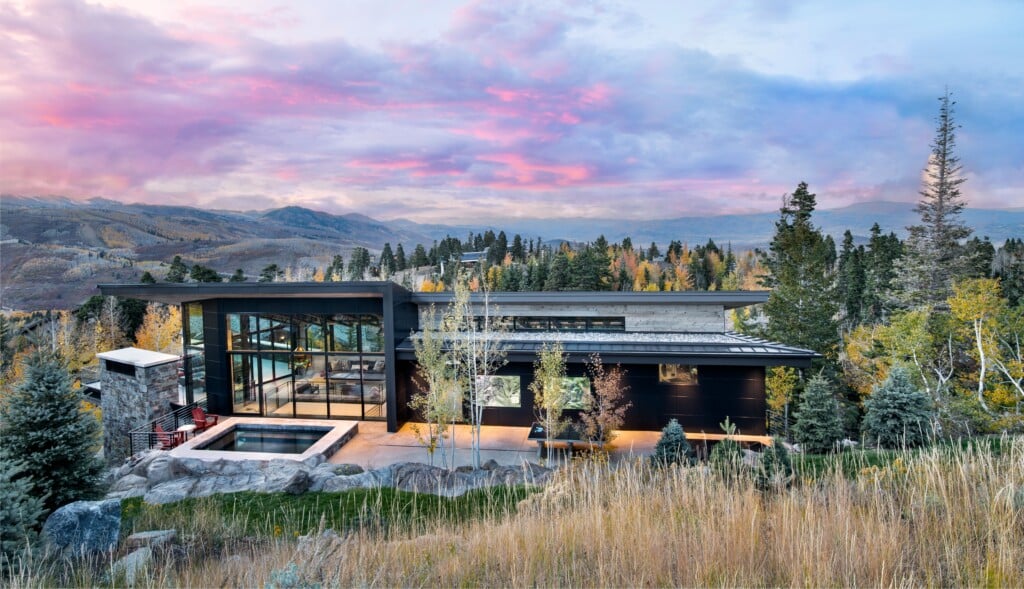
In this hearth room of a Mountain Star home in Avon, Colorado (above), you can see the primary views to the south (right) to the Beaver Creek Ski Area and the Sawatch Range beyond, as well as the secondary views to Game Creek Bowl of the Vail Ski Area to the east (left). You can also see that there is at least a foot of sky above Game Creek Bowl to the top of the window to the left.

The same technique was used to determine the height of the windows in the master bedroom.

In this Wildridge duplex in Avon, Colorado, you can see how the views of Beaver Creek Ski Area and the Sawatch Range beyond were successfully framed.

Similar views were achieved in the lower-level family room, and the adjacent deck leaves room for the views to be fully appreciated.

When it comes to vantage points, no stone should go unturned—unless the homeowner desires privacy from a certain angle. Even this secondary bedroom in a single-family Avon home takes full advantage of Beaver Creek Ski Area and the Sawatch Range view.

Here, a splayed living-room window grabs views of Beaver Creek Ski Area.
Tab Bonidy is the president of TAB Associates, Inc., a company dedicated to providing professional architecture, planning, and interior design services, based in Edwards, Colorado, but also located in the Smoky Mountains in Hendersonville, North Carolina. View their profile or contact Tab at (970) 766-1470 x103.
Content for this article provided by TAB Associates.