How to Frame a Fabulous View
You’ve purchased a lot in the mountains—now what do you do?
You are likely to hire a team of designers to begin crafting your dream mountain home, but there is something you’ll want to keep top of mind: How to frame the breathtaking view.
Where are the best views? Which vantage points are your favorite?
The last thing you want is to build something that mitigates the whole reason you bought the lot. Whether the home is lakeside, on a valley floor, or perched up on the hillside, a mountain home’s views can make or break its high-end luxury factor.
“From the very onset, you need to evaluate your property, how you enter the house, and the direction of any view that the property offers,” says Allen Halcomb, president of residential design firm MossCreek. “Then you can determine a floor plan that accommodates the view.”
From that point, you’re ready to take that view and maximize it to its utmost potential—capturing the beauty of your surroundings and broadcasting it into the comfort of your own home.
We caught up with Halcomb to discuss the best ways to frame a view, at all site angles. Here are his tips on getting it right, in seven different ways.
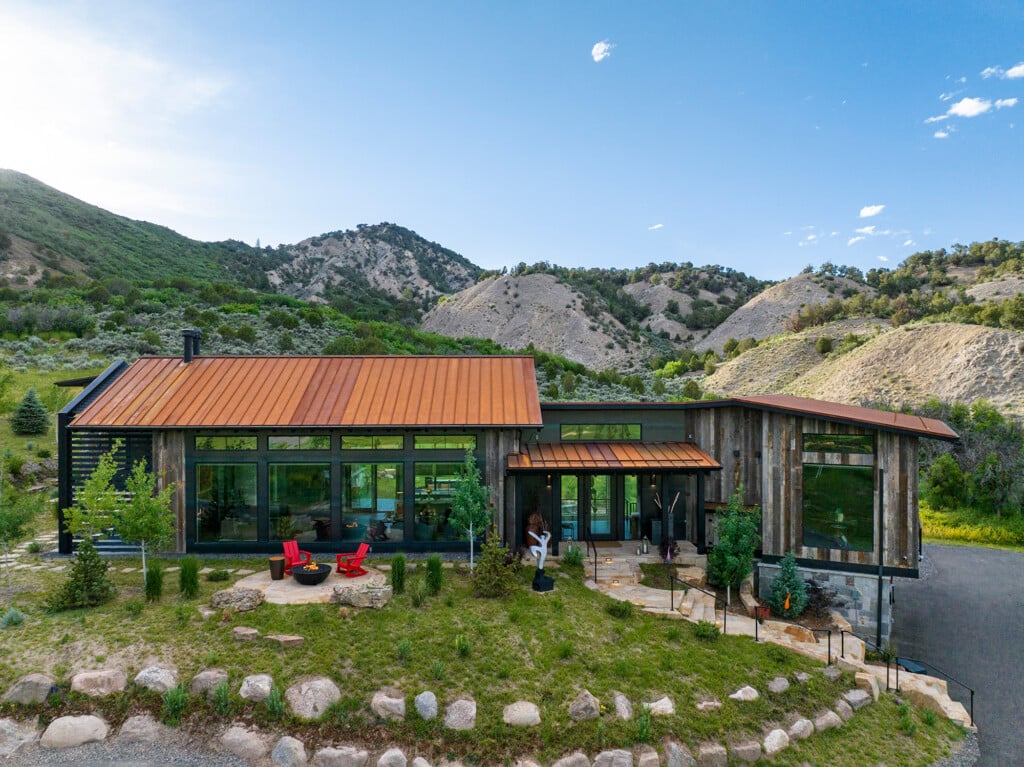
1. From a valley floor looking up at the mountains
Let’s say you’re in Jackson Hole, Wyoming, and you’re looking up at the Tetons. To frame those spectacular sights, a great room with tall, vaulted ceilings and gabled ends does the trick. You can also employ a radial pattern oriented right at the mountains, to squeeze every last drop out of those views.

2. Looking down to a distant valley floor
Make sure your windows extend down to the floor—the lower, the better—to maximize a down-and-out vantage point. Your eyesight is going to be drawn downward, so you’ll want to limit obstacles that might obstruct that view. Consider foregoing porches in this direction, or at least make them shallow.

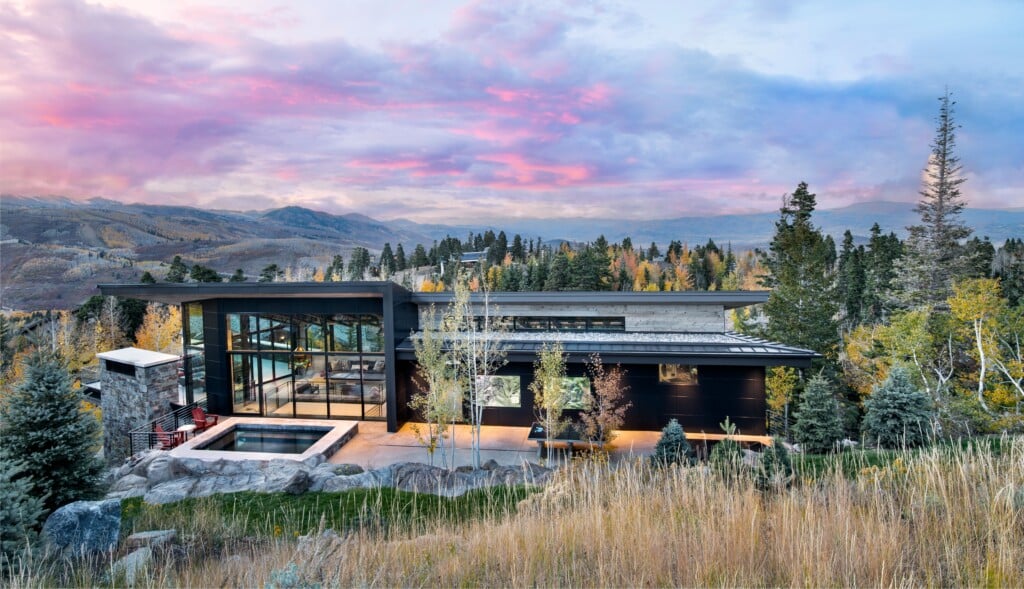
3. From a hillside looking down to a close shoreline
While a distant-valley view might be at a 20-degree angle or 15-degree angle, a shoreline could be at 45 degrees or steeper. In that case, too, you’ll want to employ low-to-the-floor windows, and this time, completely nix any consideration of a deck or porch. This way your home will be capitalizing on the effect where it looks like the window is going straight to the water’s edge.

4. Panoramic views
If you have a 360-degree view rather than a single-direction view, it’s can be advantageous to have wider glass to incorporate your periphery vision—but even more than that, a radial pattern or a bay window can suggest architecturally that the view is more than just linear.
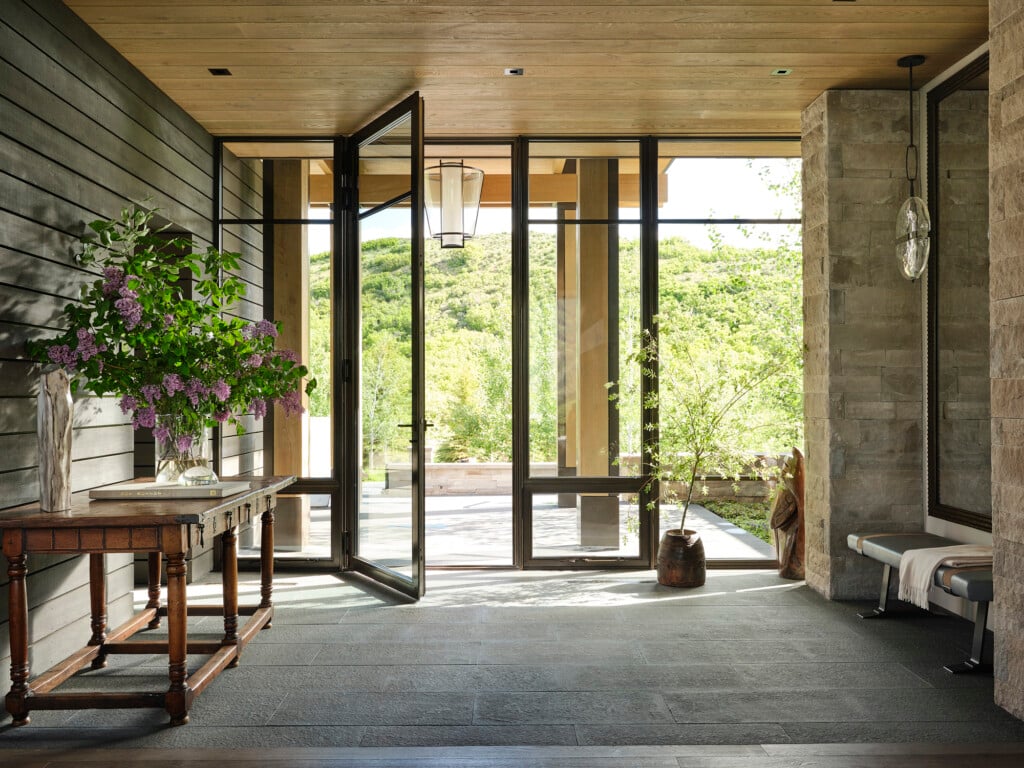
5. Side-angle views
Houses generally tend to fall into two or three different floor plans—the most classic highlighting a view straight through the great room immediately as you enter the house. But not everybody’s lot is situated for that layout.
Some lots are positioned so that, upon entering the home, the view is at a right angle to the left or right. In this case, incorporate a floor plan that arranges itself so that 90-degree turns are the focal point of the architecture.

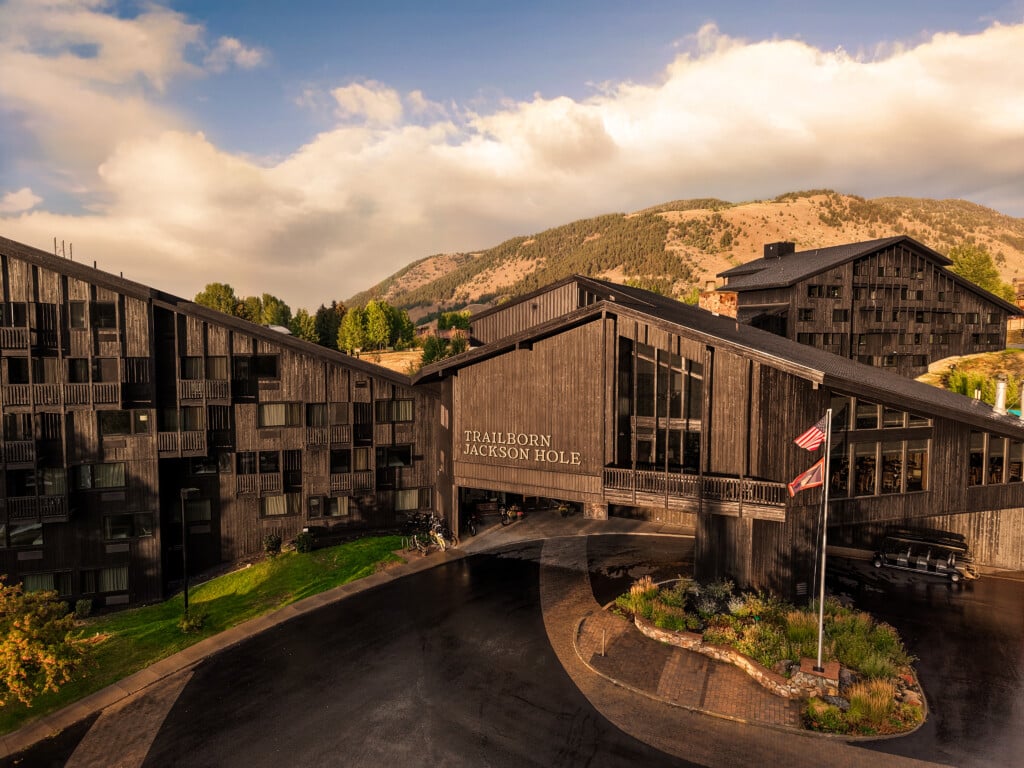
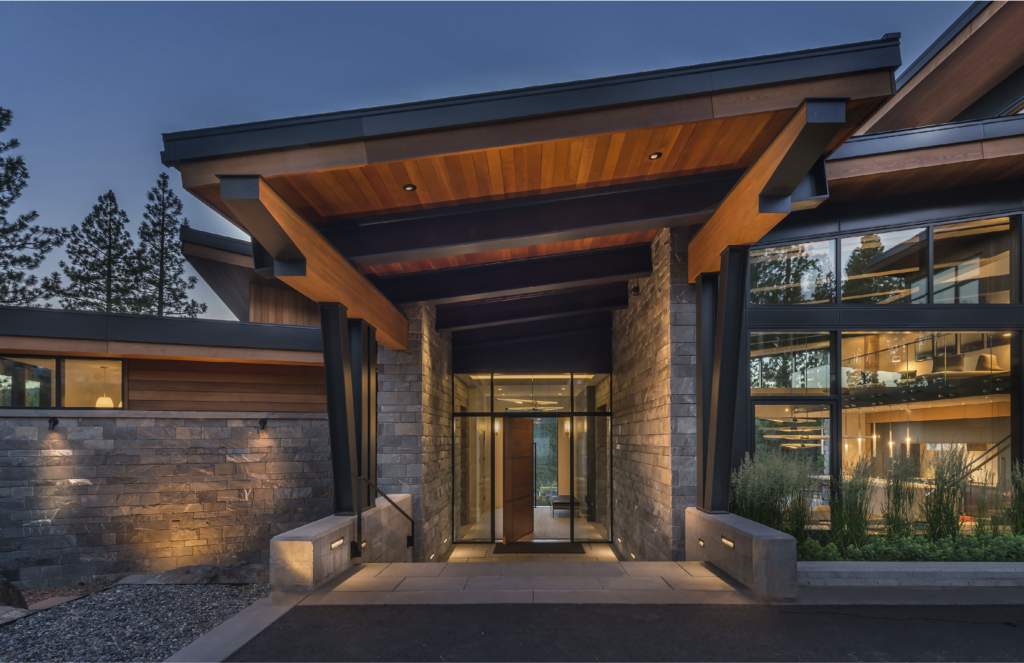
6. A forward view
A home with a forward view requires the most difficult floor plan. In places like Aspen where you usually drive up to the house, the view out of the front door is also the primary view. To accommodate this challenging vantage point, the floor plan must twist and curve as you walk in.

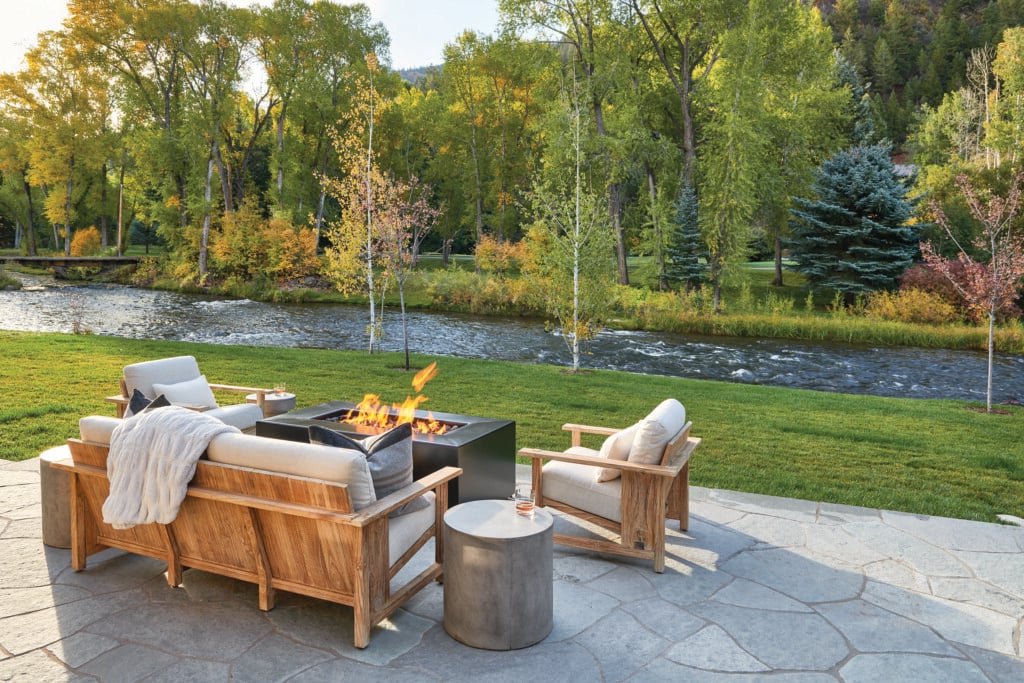
7. A forest view
If your view is more immediate of trees, babbling brooks, and wildlife, you can sidestep the hierarchy that is typically built around a single-direction view, and instead fill your house with glass. You may have a great room with a vaulted ridgeline that frames a giant window wall, but you also can employ glass on all the other walls. This design takes advantage of the illusion that you’re enveloped in green vegetation. In this case, you can build a deck with furnishings and railings and not worry about obstructing the view.
Want more information on how to frame a view? Contact Allen Halcomb at 800.737.2166 or info@mosscreek.net.