Cozy in the Cabin: Wreath Making this Holiday Season
A Jackson Hole writer shares her tips for decking the halls.
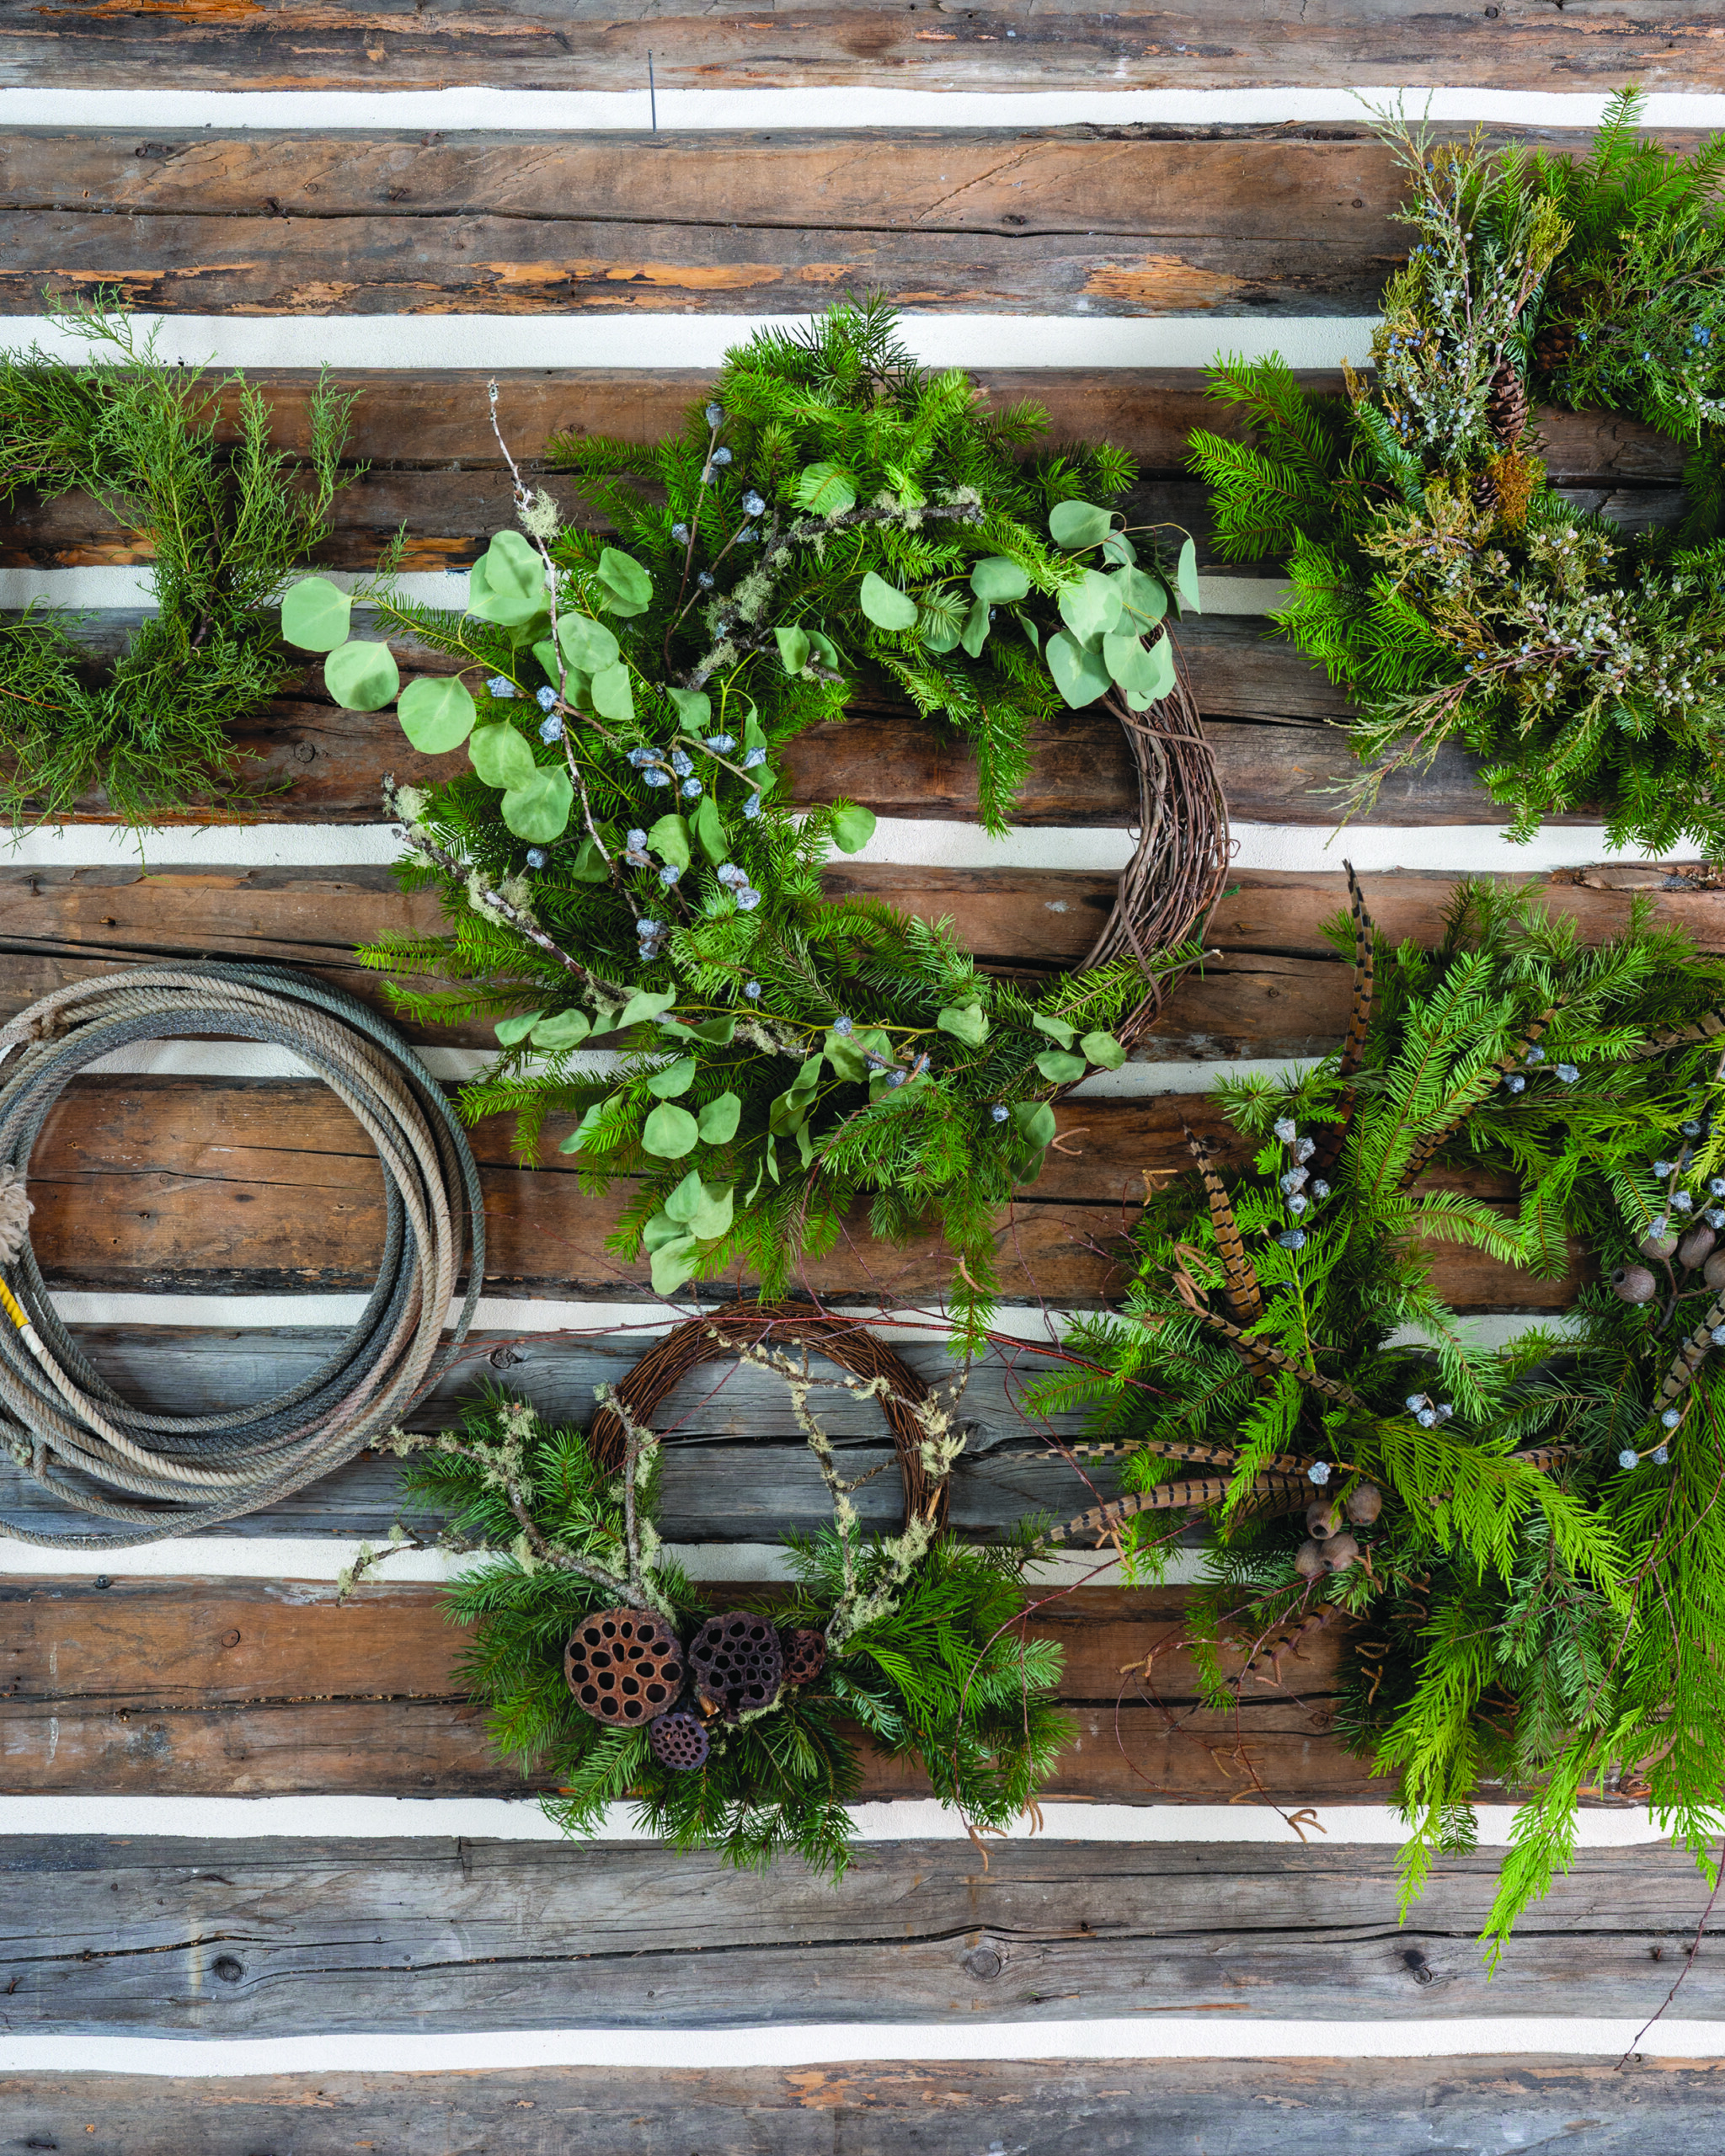
Wreaths can be made in all shapes and sizes, asymmetrical or traditional. “I like to mix the greens I use to make for a more interesting wreath,” Munro says. | Photo: Lisa Flood
Winter is the season of quiet making, when working with my hands—experimenting with new recipes in the kitchen, drying oranges, pouring candles, making paper chains, planting paperwhites and amaryllis, and sewing—fills my soul. The holidays elevate the creative in me. One of my favorite creative projects is wreath making. While some days feel too cold to venture out to forage for wreath supplies like juniper with plump blueberries or hunting for mossy branches, it is always worth the effort when I return to the truck with rosy cheeks and a bounty of natural materials to work with.
Many years ago, I began hosting wreath-making workshops in our little backyard cabin. The event has become a wonderful tradition for gathering friends, old and new. I keep wreaths hanging in our home year-round, but the holidays are a particularly fun time to build something to be enjoyed all winter. There is no right or wrong way to make a wreath. Seeing others go through the creative process inspires me, and the end creations are always different, even when using similar supplies. Here are a few fundamental tips.
Munro hangs wreaths in her family’s home year-round but looks forward to wreath making during the holidays. | Photo: Lisa Flood
First, you will need a base to build your wreath on. I prefer using a wire frame or a grapevine wreath. Next, gather your materials and decide on a color palette for your project. I forage greens from the forest because it makes for an adventure and the materials are free, but these also can be purchased at a local floral or garden shop.
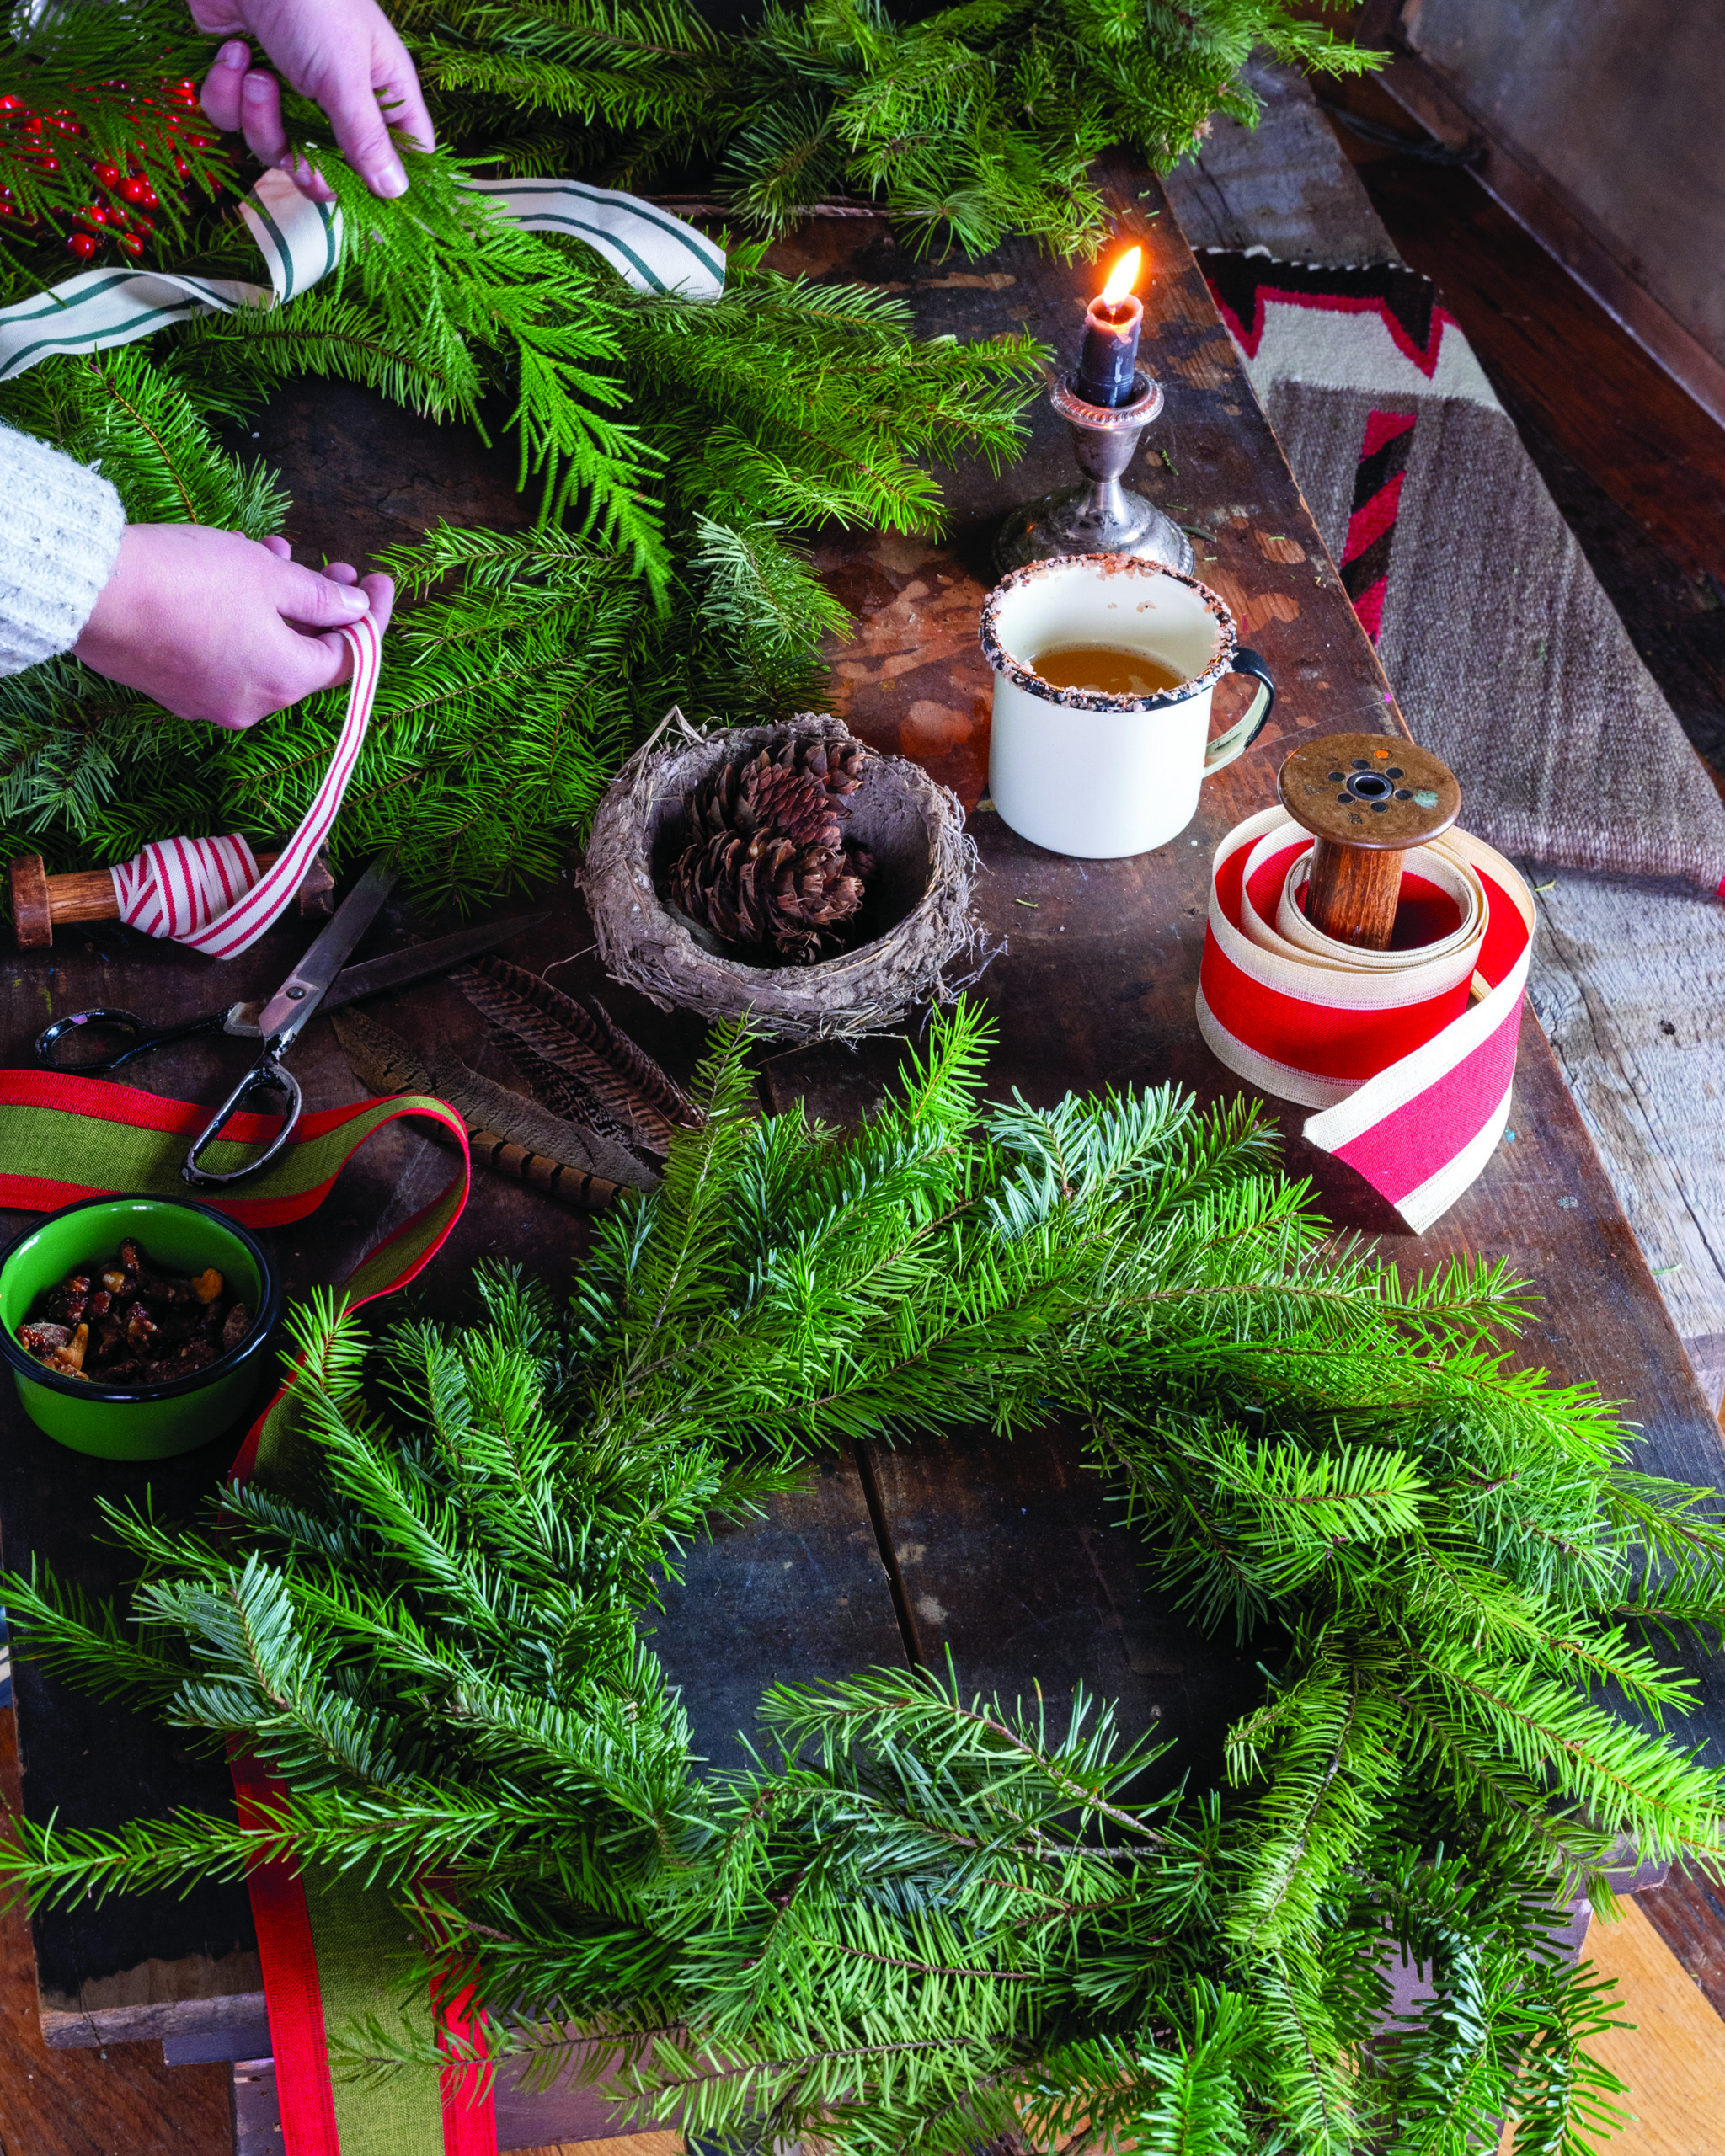
Start building your wreath by wiring your hearty greens to the frame, working in a circle. I use paddle wire to attach the greens, pulling tight as I secure each green bundle. Remember that you want to cover the inside and outside of the frame so that the base is full. Don’t be shy; I believe more is more. Once you have finished building the base, select your decorations. To make sure I like the design, I lay out dried flowers, pods, berries, pine cones or whatever other decorations I fancy on the greenery before attaching them with wire or hot glue.
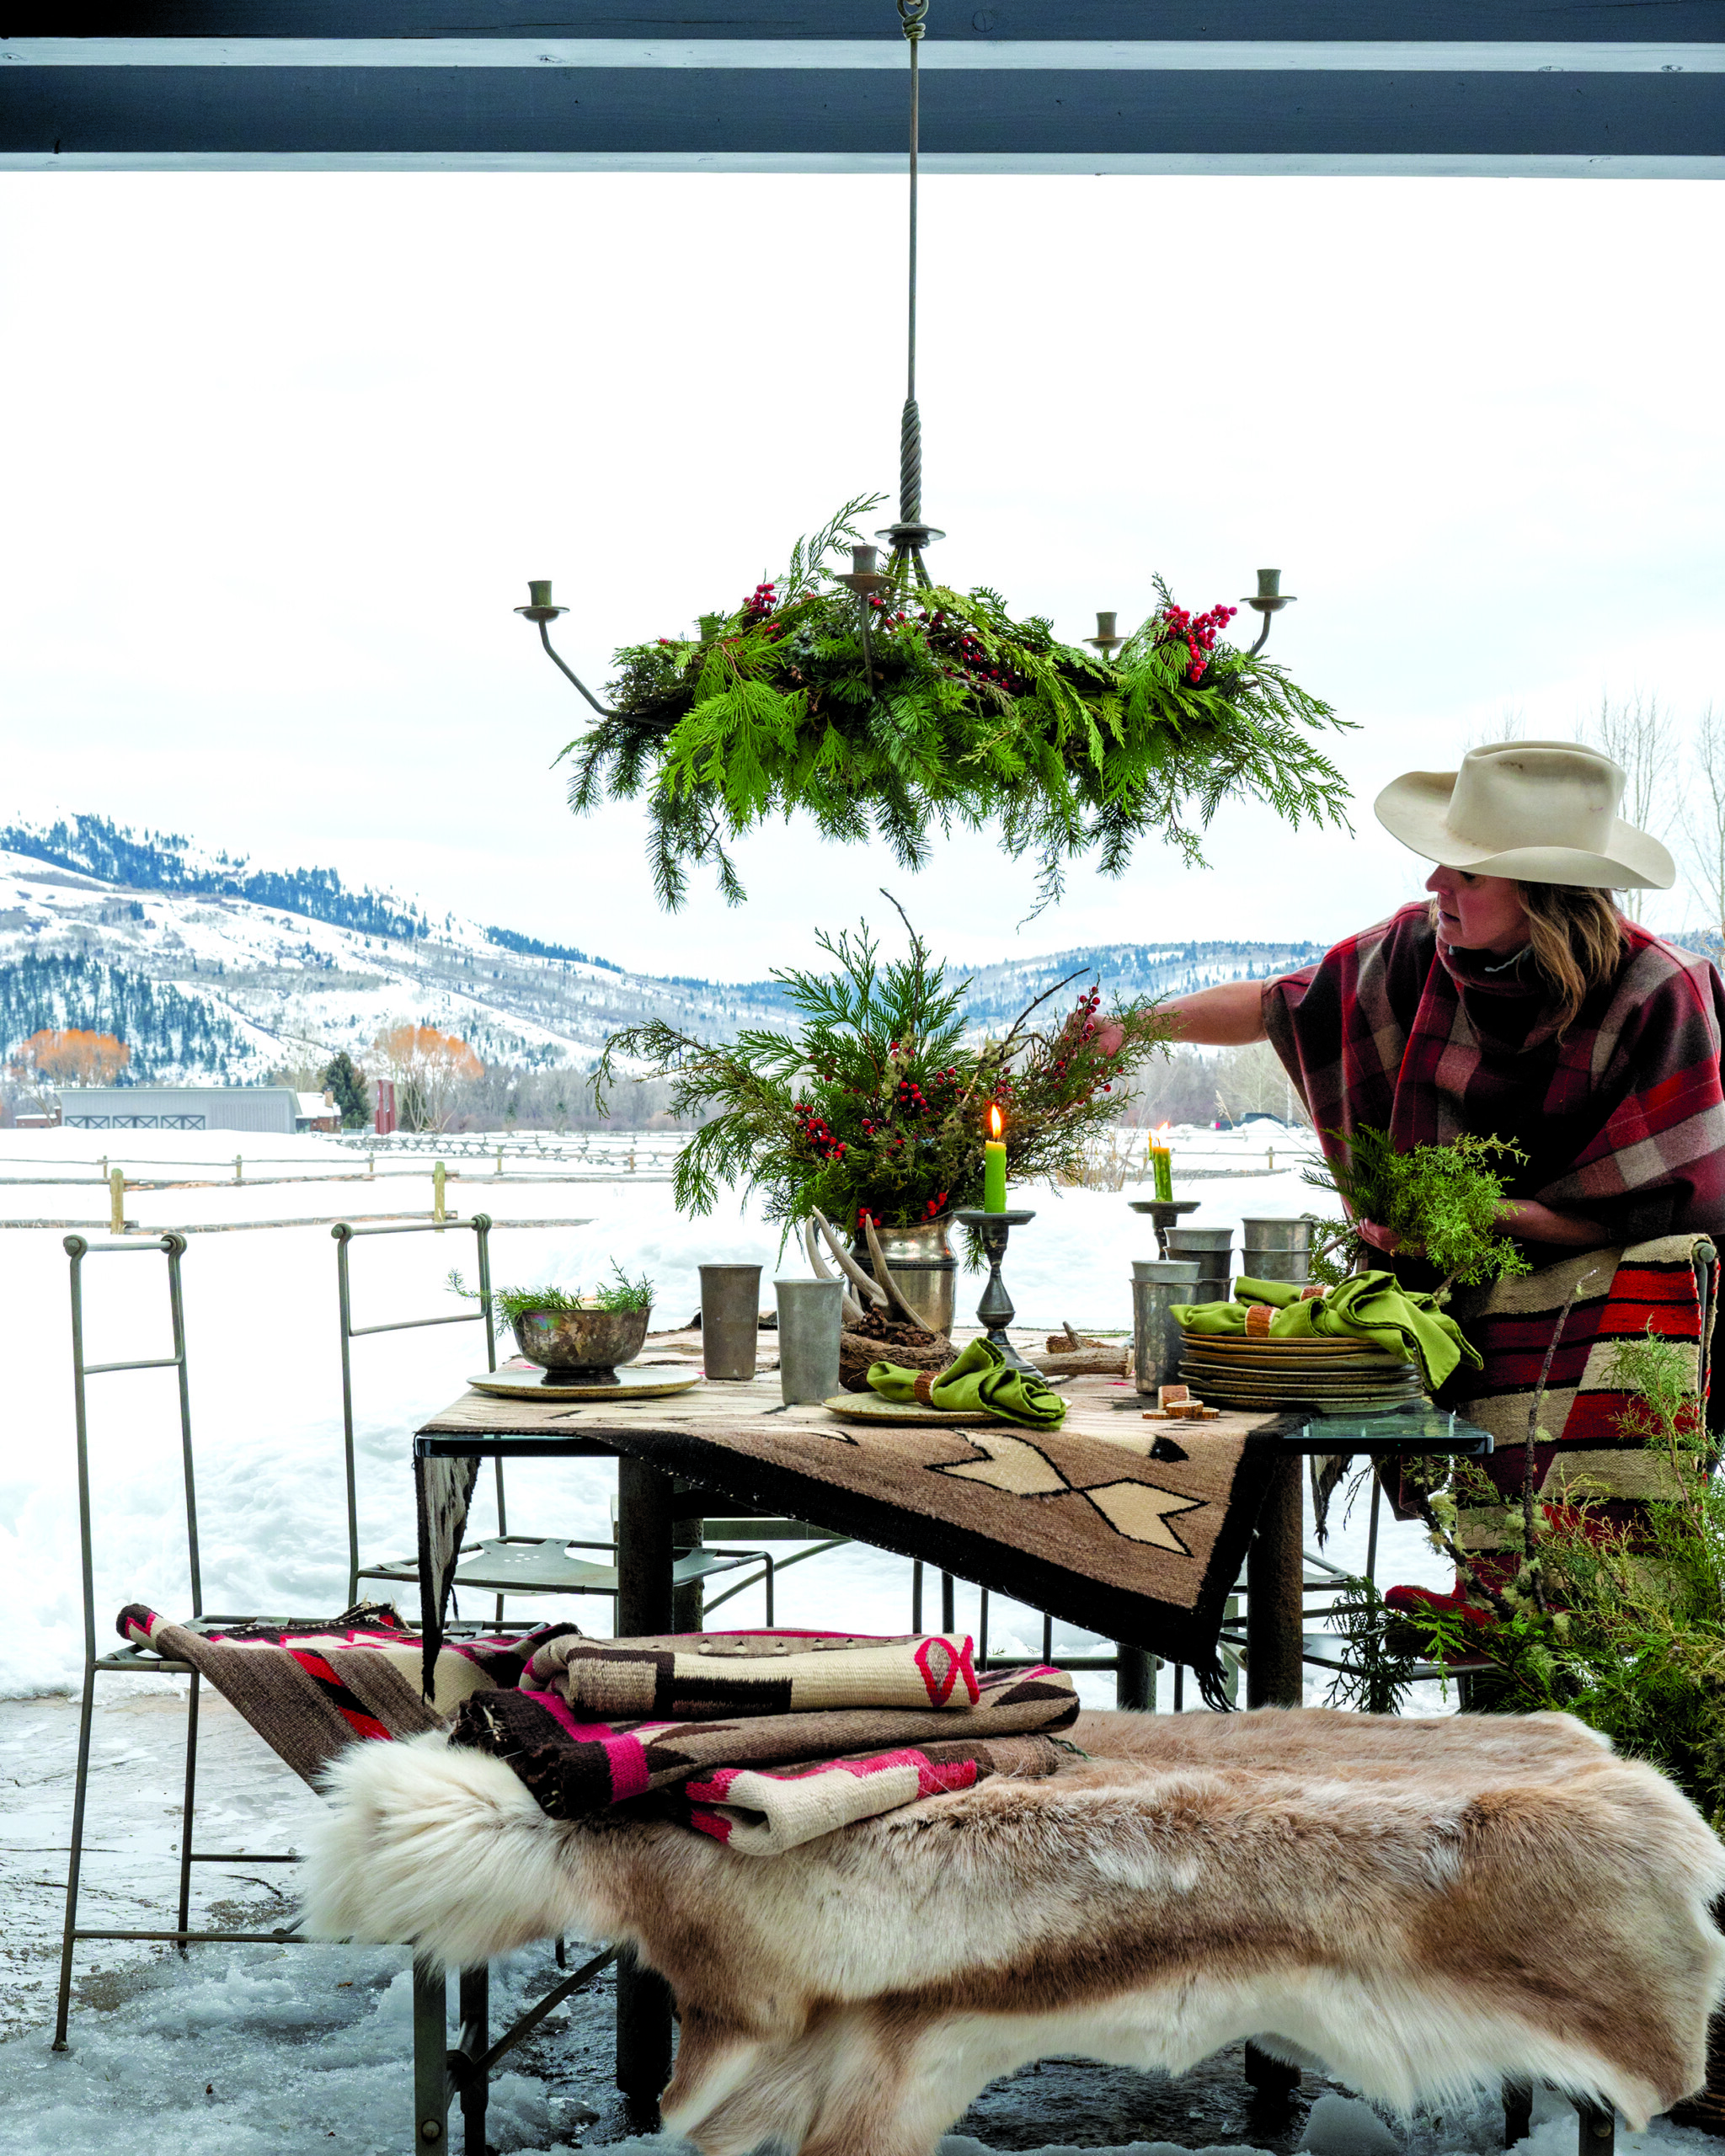
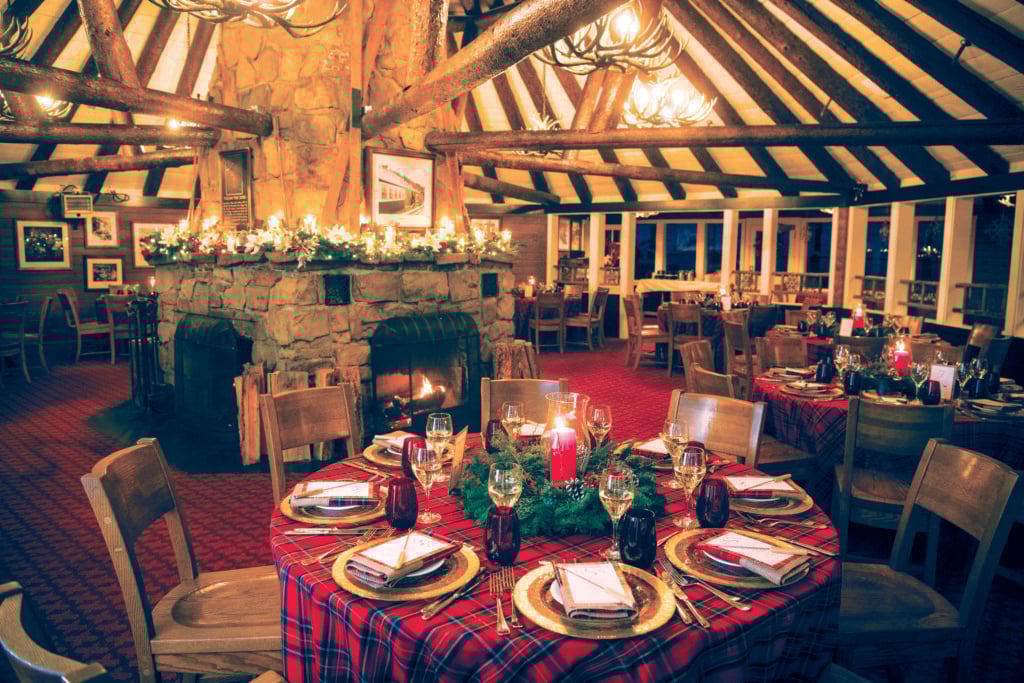
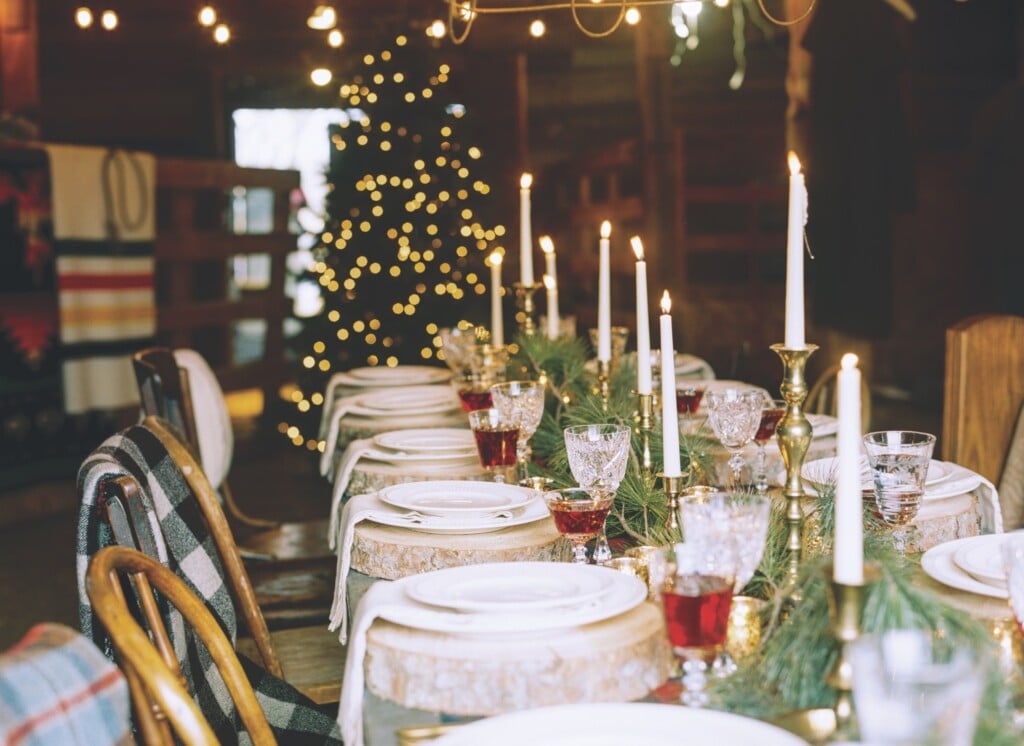
Munro sets a festive table to continue the conversation after wreath making. Vessels with greens and red ilex berries makefor a beautiful combination during the holiday season. Layering vintage Navajo rugs add a Western touch. | Photo: Lisa Flood
When you feel your wreath is complete, hang it on a wall to ensure there are no gaps and that no additional decorations are needed. If desired, add a beautiful ribbon for the finishing touch. I like to add an unexpected element like an antler shed, a hawk’s feather or an abandoned bird’s nest.
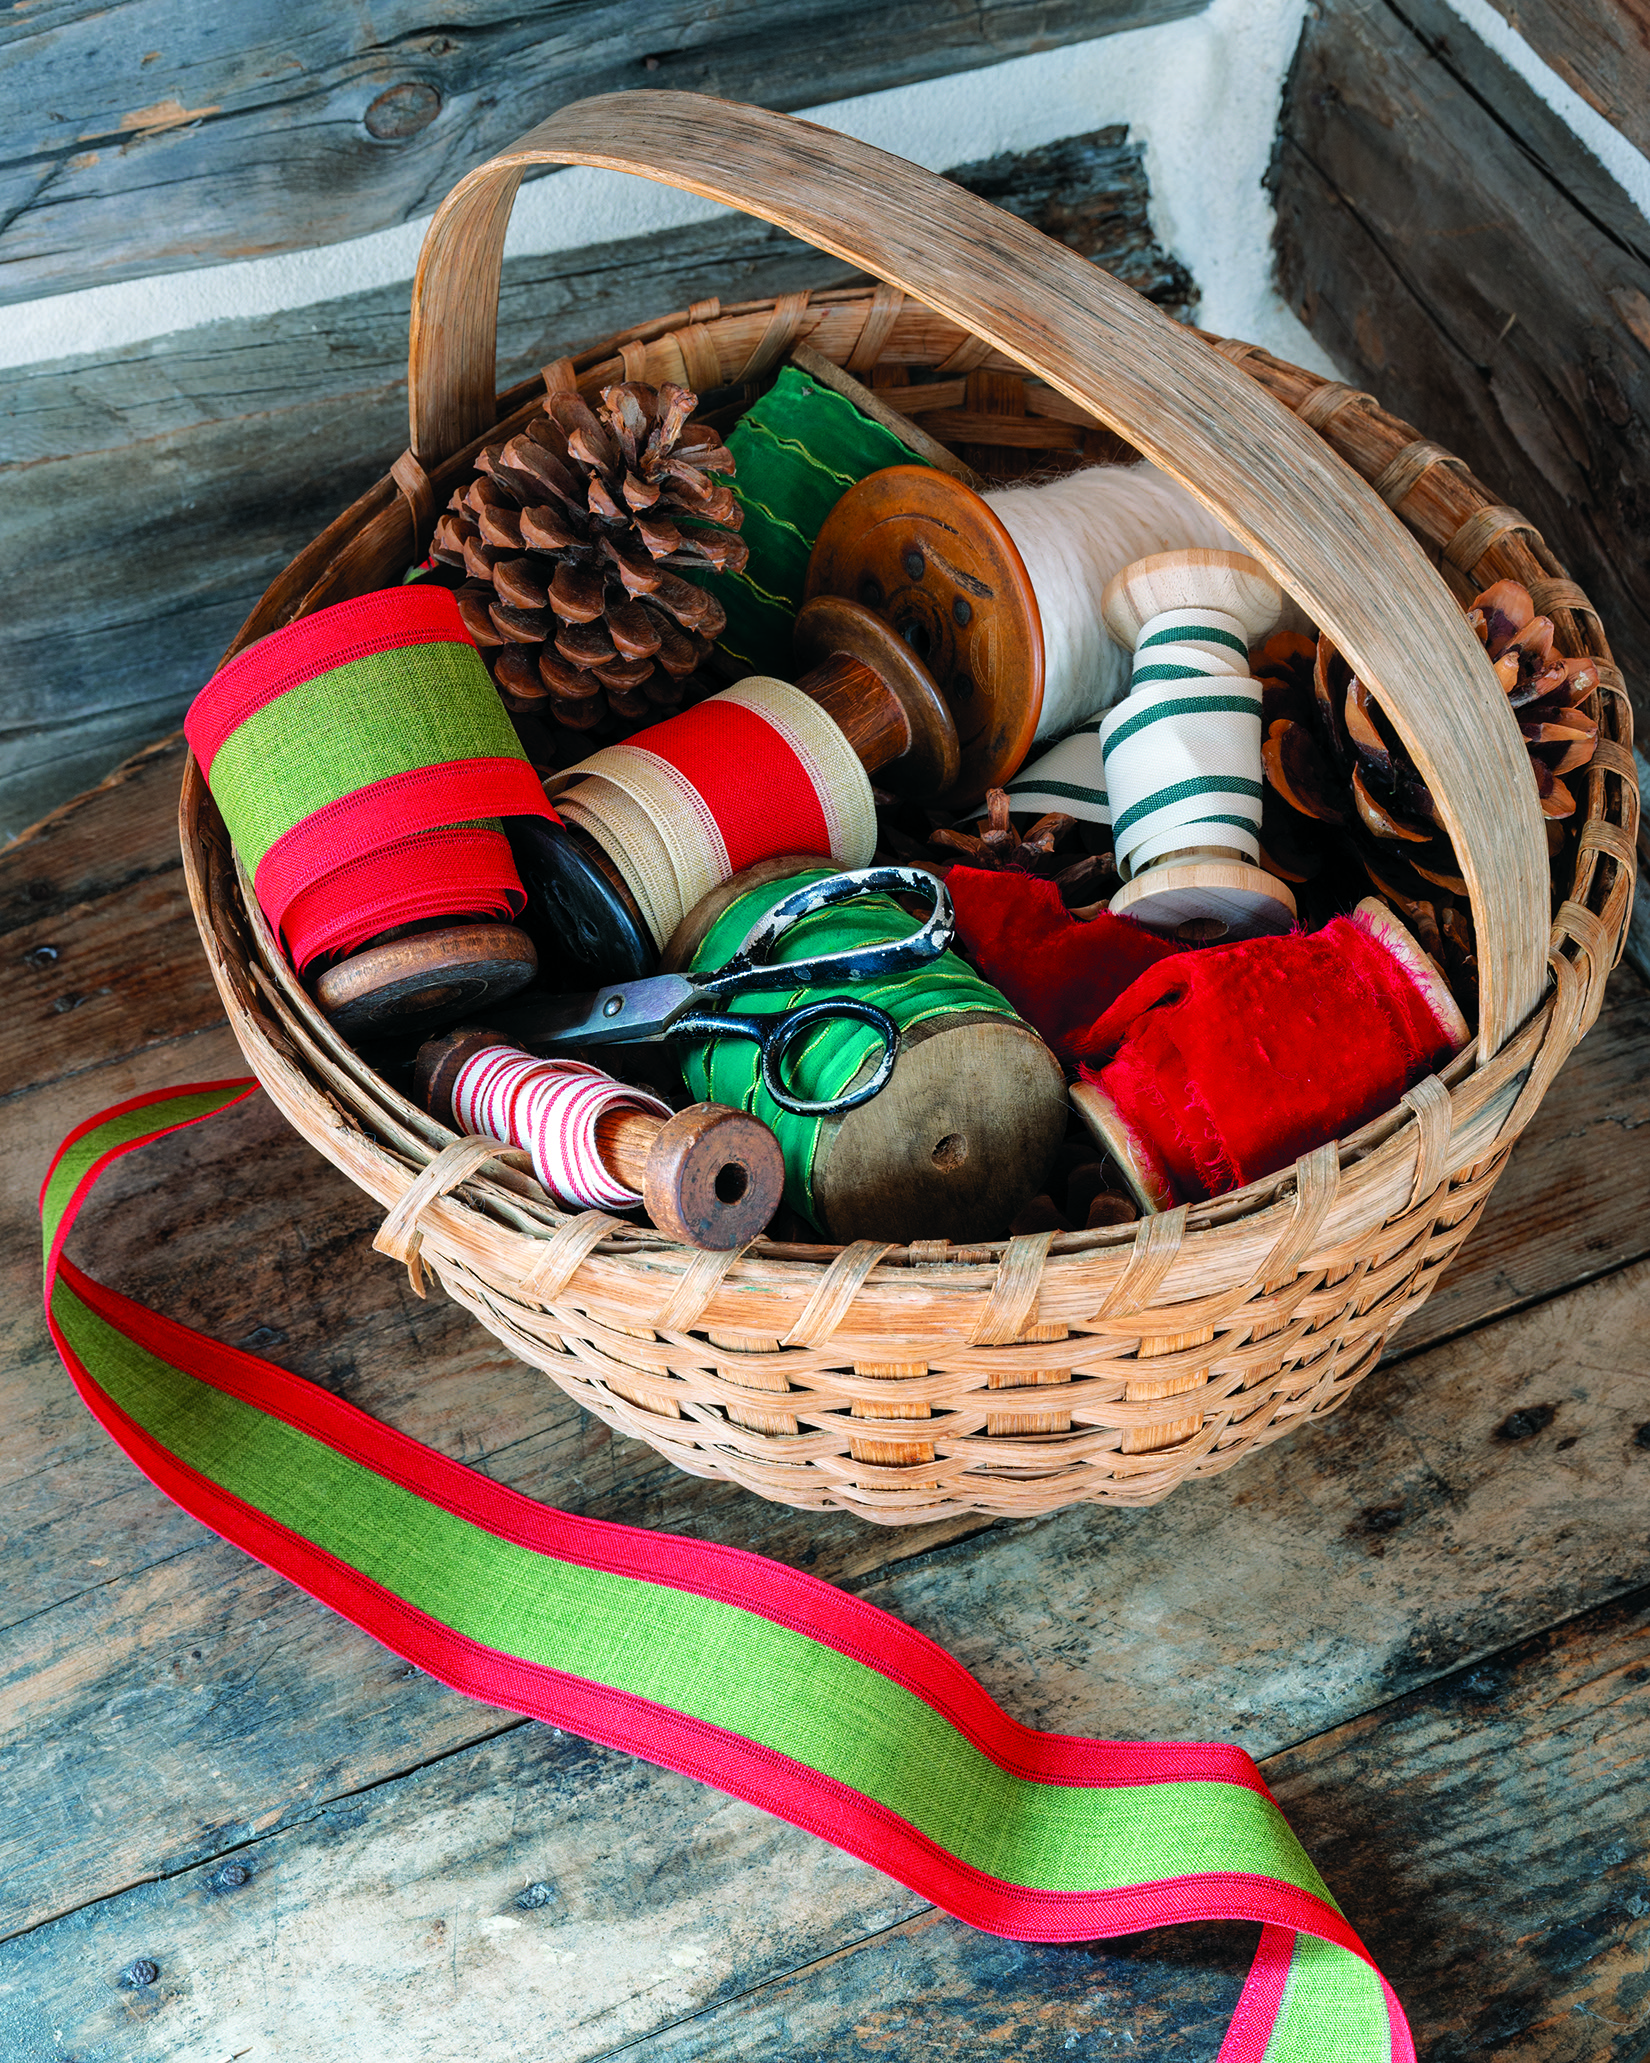
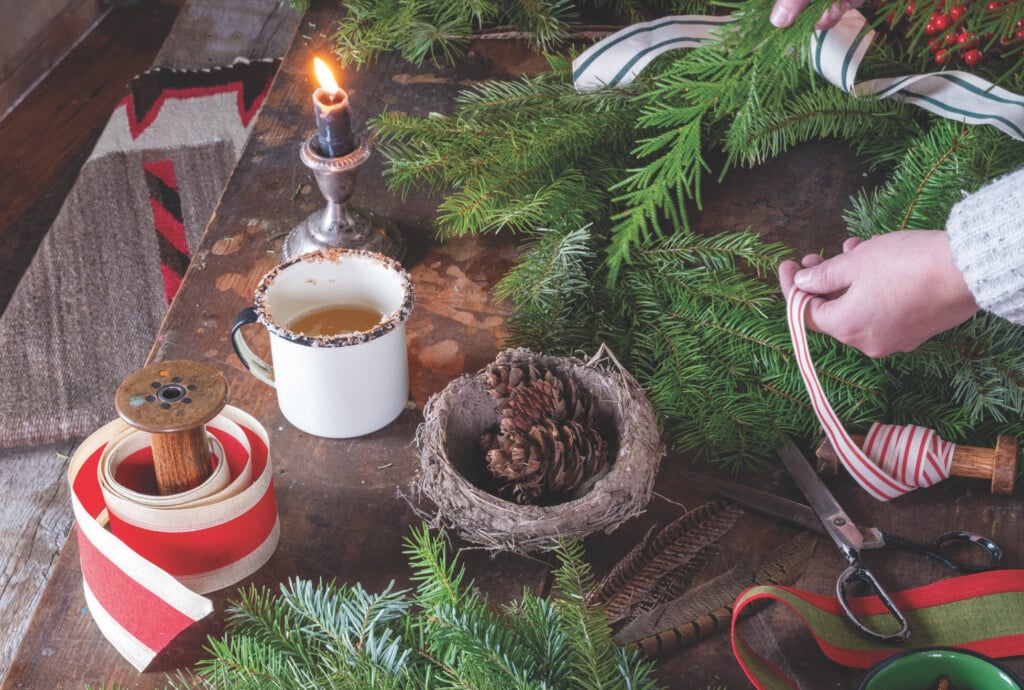
Munro selected an assortment of ribbon in classic holiday colors for this party. | Photo: Lisa Flood

“My favorite basket that I filled with foraged greenery from the forest,” she says. | Photo: Lisa Flood

The wildness of the branches, the pheasant feathers, eucalyptus pods and mix of greenery make this wreath unique, but also very natural. “A favorite of mine!” says Munro. | Photo: Lisa Flood
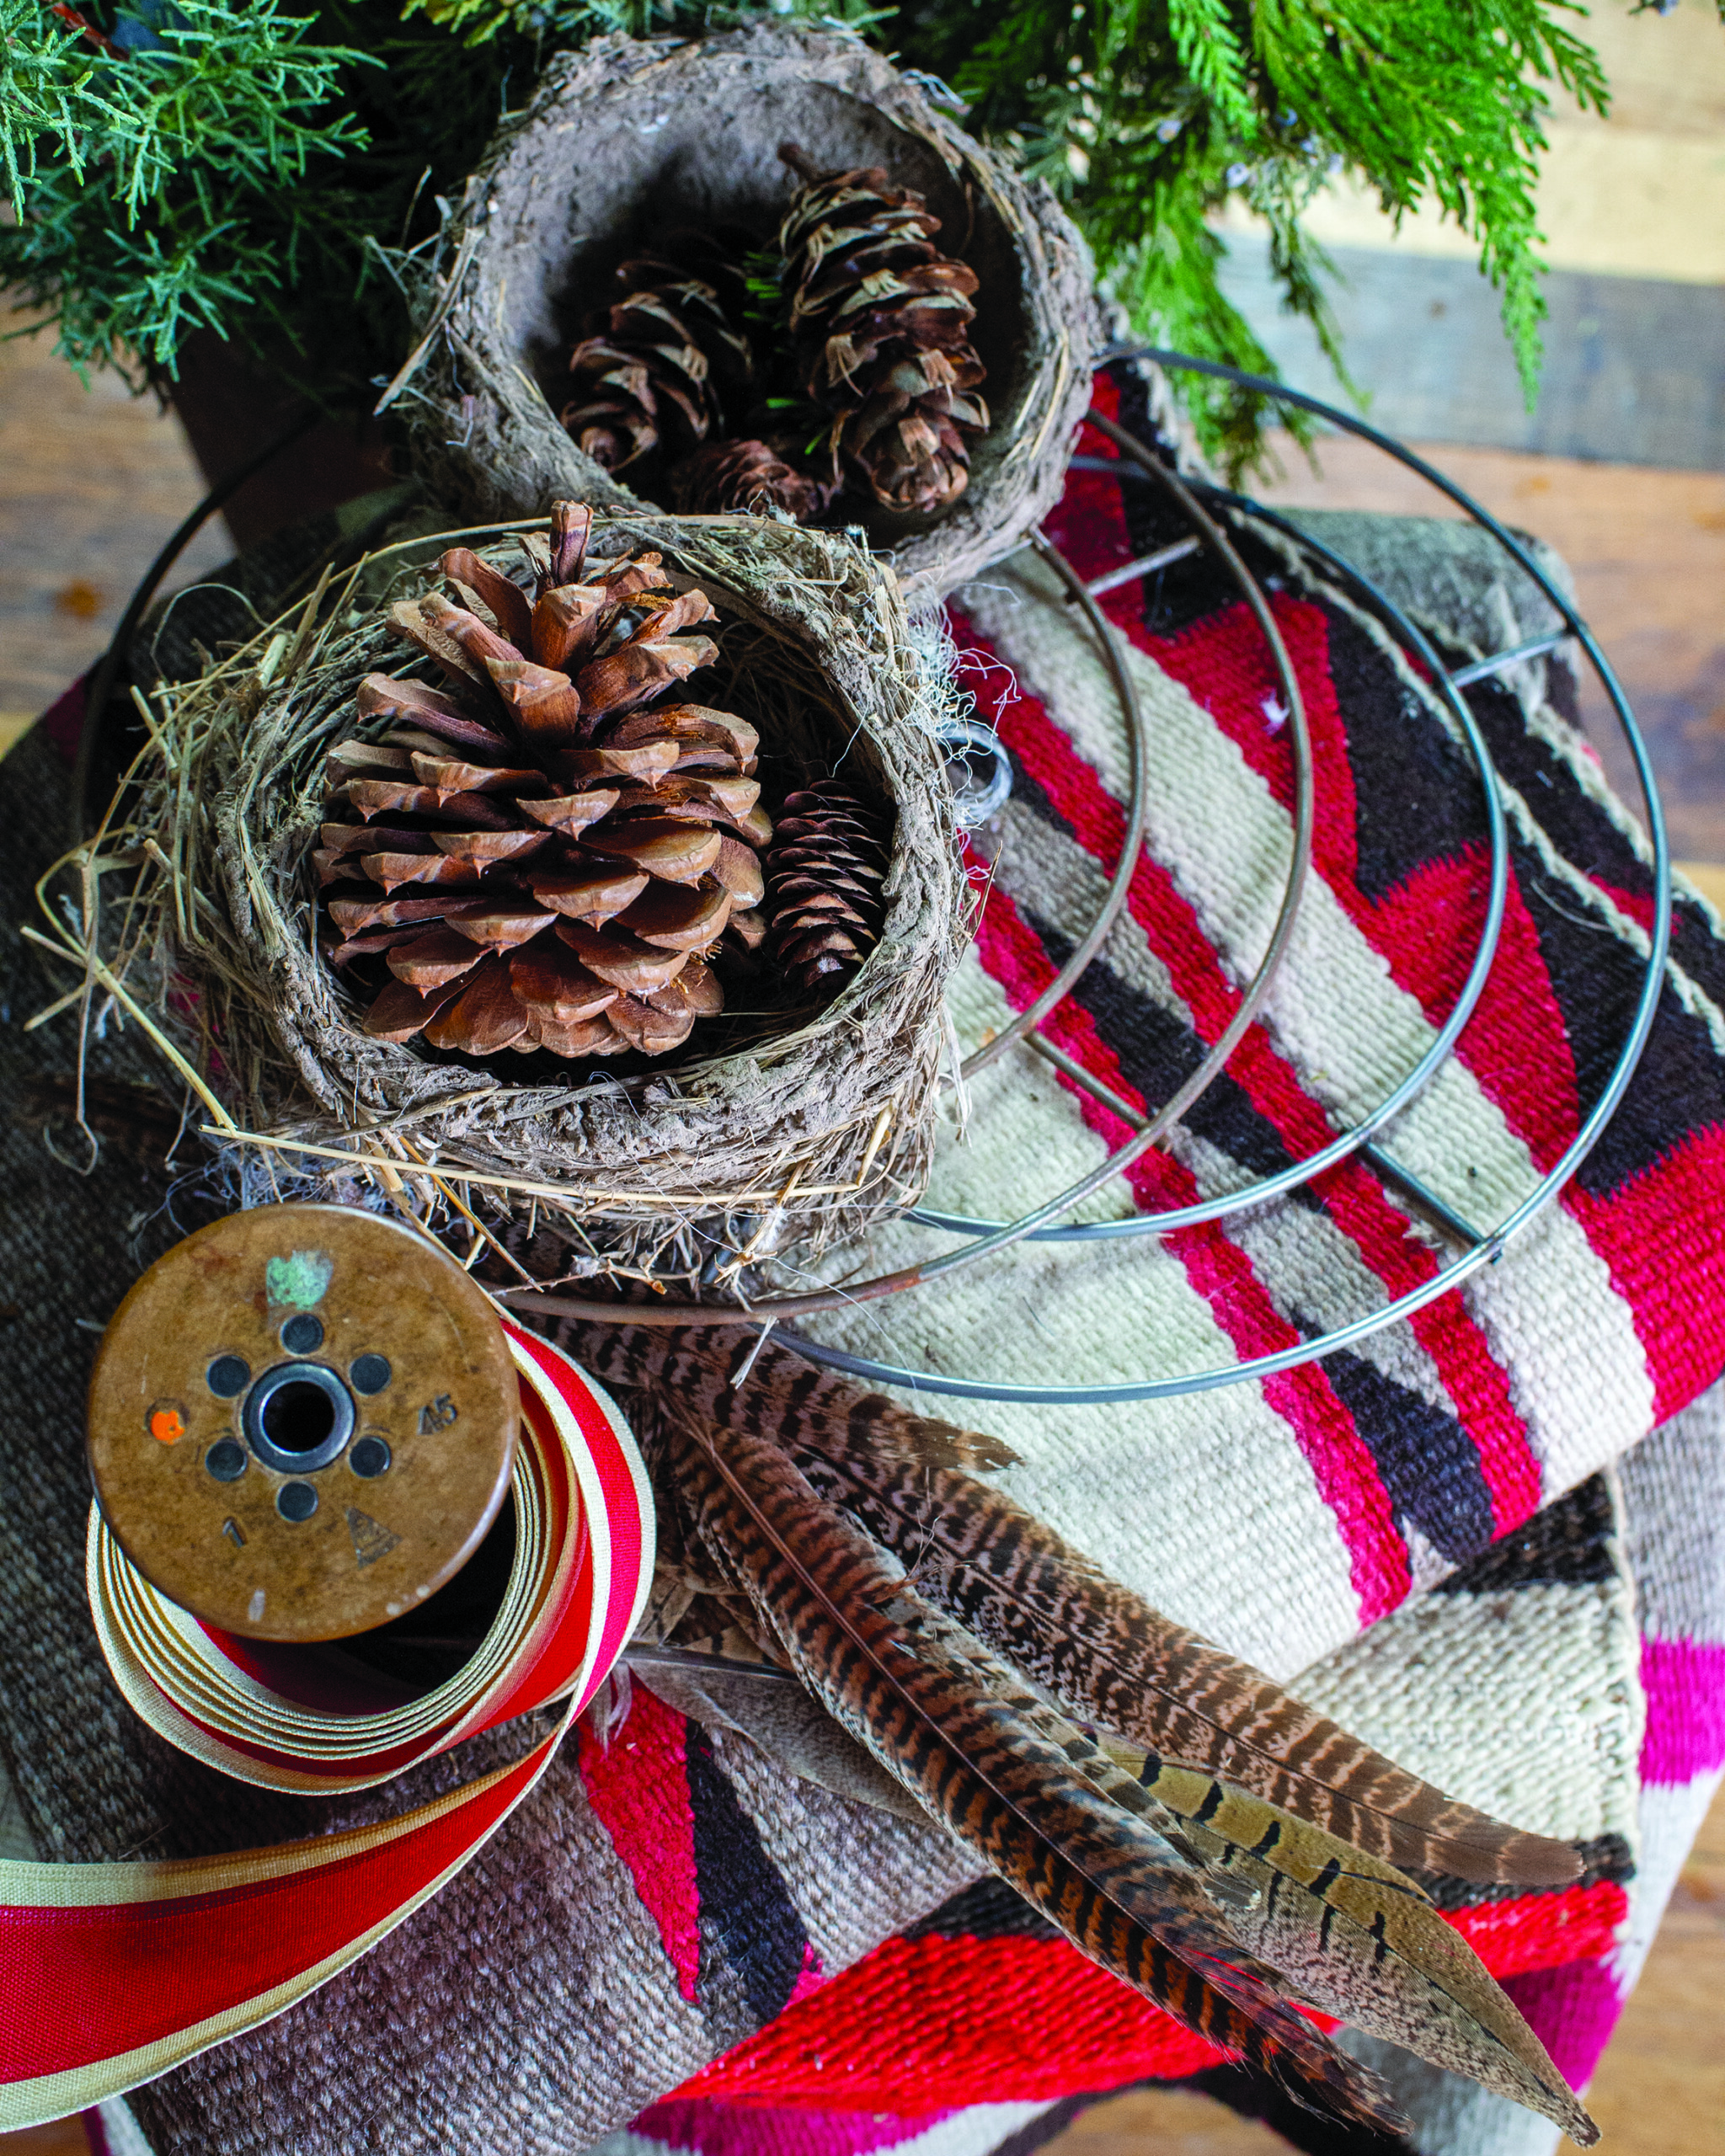
Munro arranges the pine cones, pods, feathers, greenery and ribbons to make sure she likes the design before attaching them to the greenery. | Photo: Lisa Flood
Wreath Making
For a perfect evening of creativity, gather some friends, make delicious holiday bites and beverages, and celebrate the season. Happy creating!
Supplies
Wreath frame (wire or grapevine)
- Various greens, including spruce, fir, juniper, cedar, boxwood
- Green paddle wire
- Flat wire
- Clippers
- Hot glue gun
- Ribbon
Other Decoration Ideas
- Eucalyptus pods or greens
- Snowberries
- Dried flowers
- Sage
- Ilex berries
- Lotus pods
- Bleached bunny tails
- Pine cones
- Dried oranges
- Globe thistle
- Feathers
- Antlers
- Birds’ nests